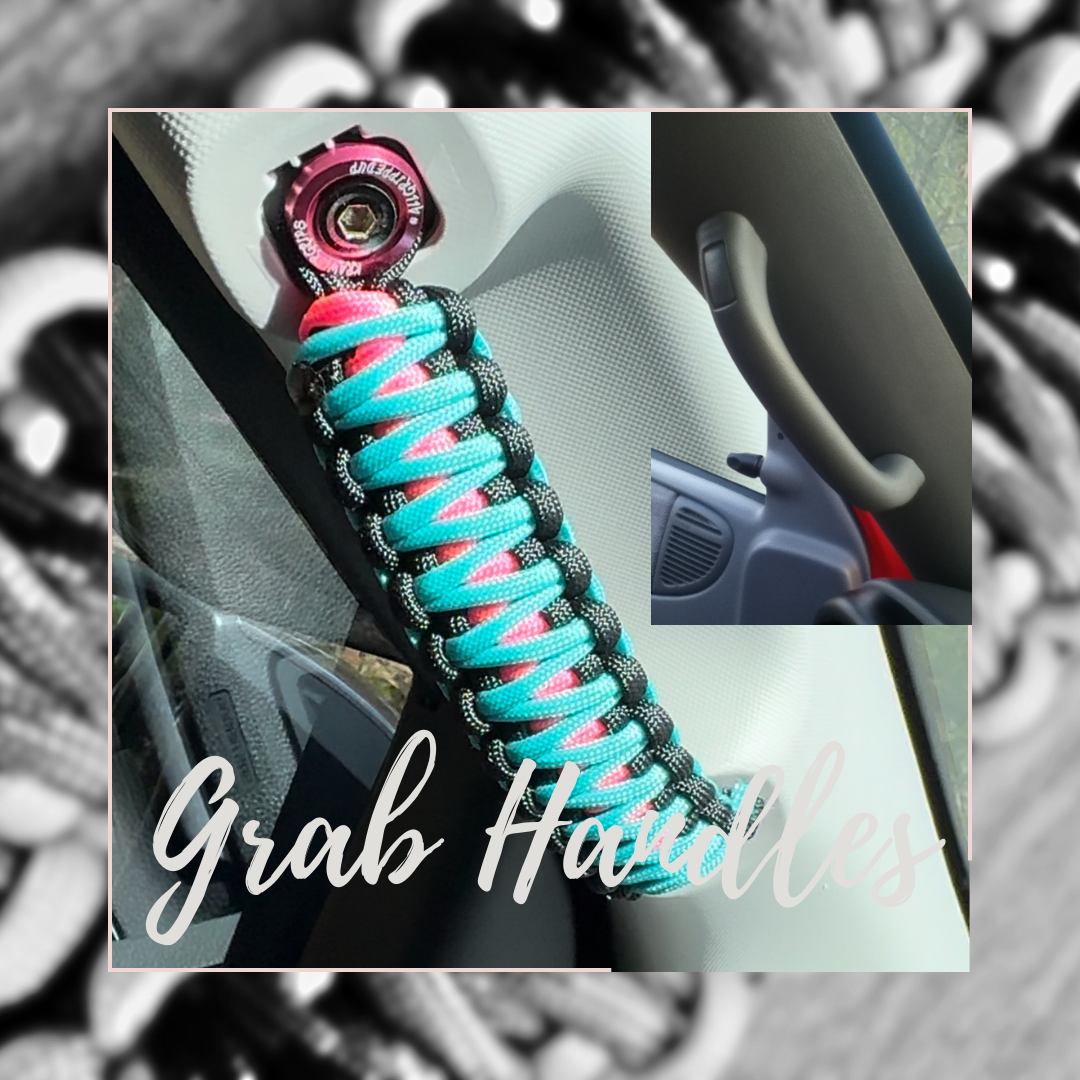
Pro Tips for Installing Your Krawlergrips Paracord Grab Handles
Hey, I’m Anita, and if there’s one thing I’ve learned as a passionate 4WDer, it’s that getting your setup right makes all the difference out on the tracks. When it comes to upgrading your rig with Krawlergrips handle grips, a proper installation isn’t just about style—it’s about safety and performance. Here’s how to do it like a pro:
Tools You’ll Need
- Screwdriver or Drill – For quick and easy removal and installation.
- Your Grab Handles – Make sure your Krawlergrips are prepped and ready to go.
- 4mm Allen Key or Bit – Essential for tightening those screws securely.
- Washers – Use larger washers or the ones included with your Krawlergrips for extra stability.
Step-by-Step Installation Guide
1. Flip the Tabs
Start by flipping the tabs on your factory handles to expose the screws.
2. Remove Factory Screws
Grab your screwdriver or drill and remove the screws holding those flimsy factory handles in place.
3. Position Your Krawlergrips
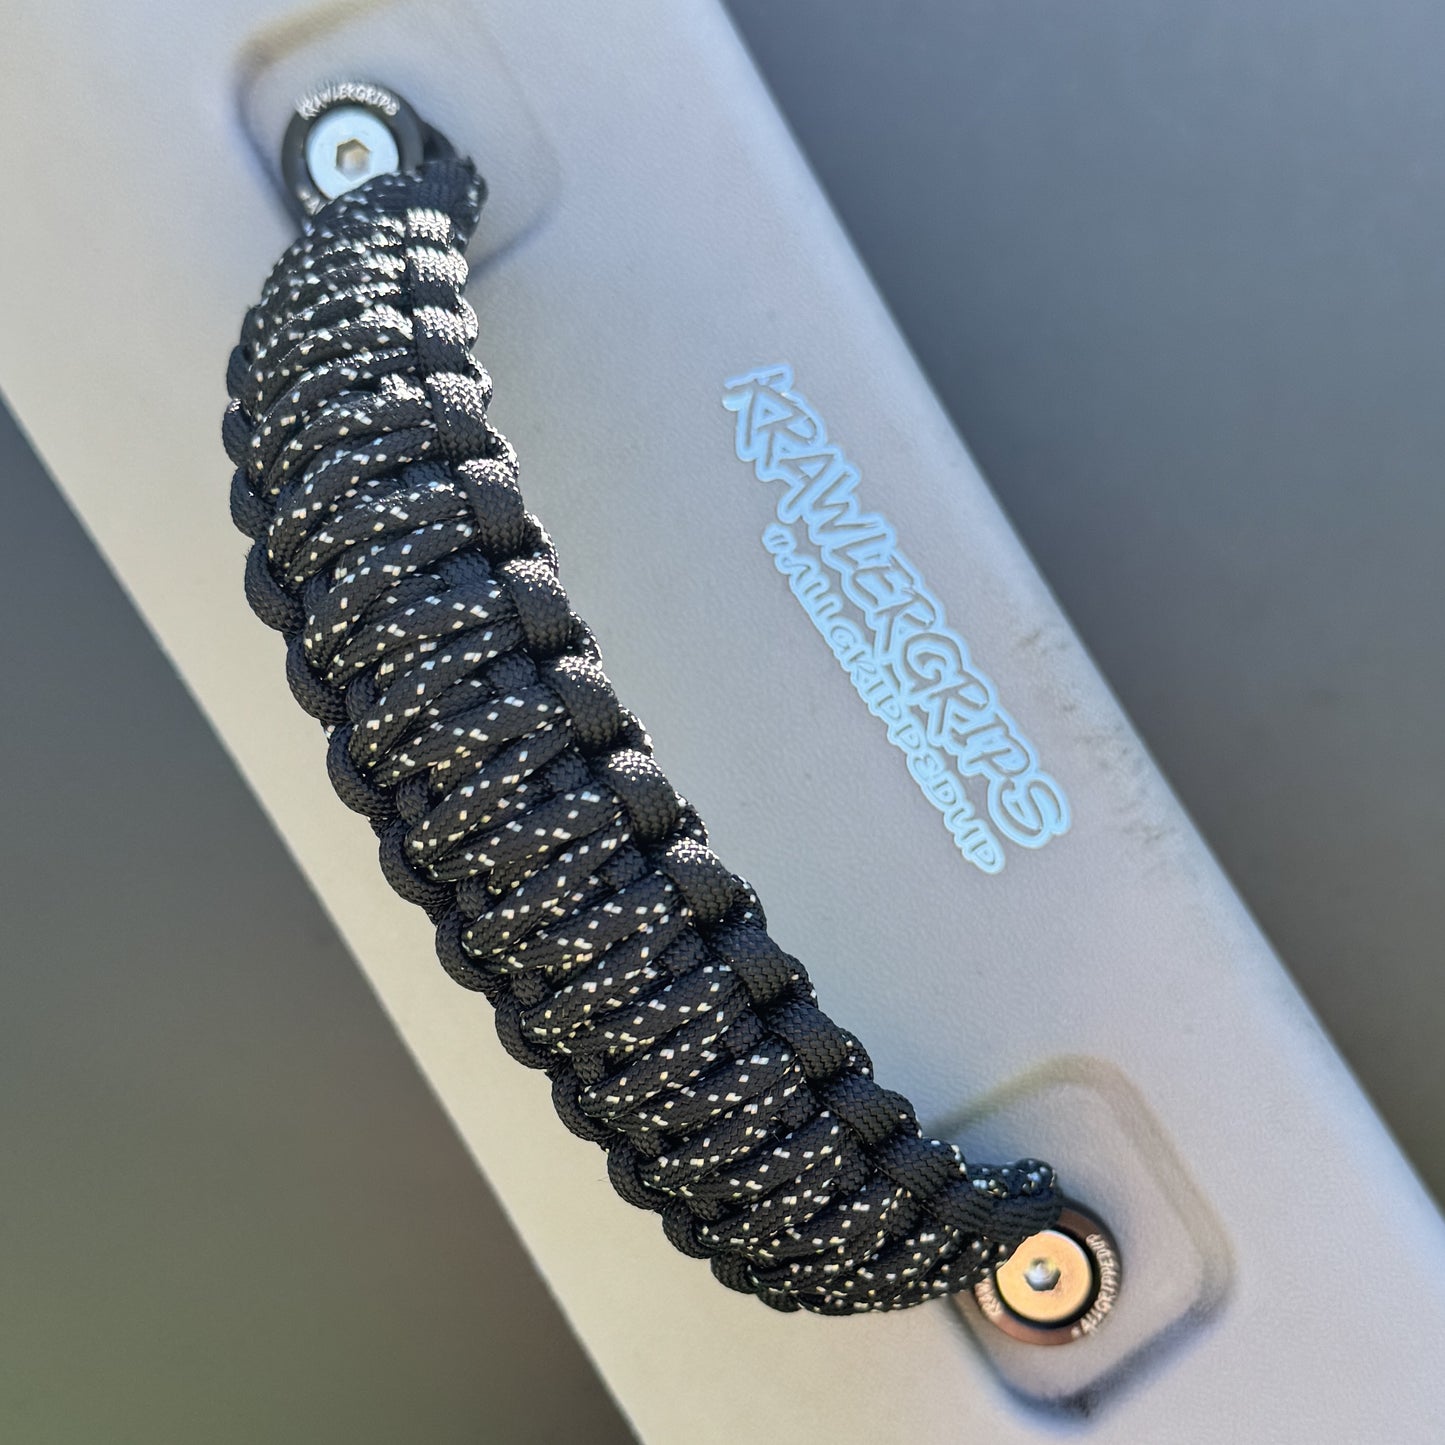
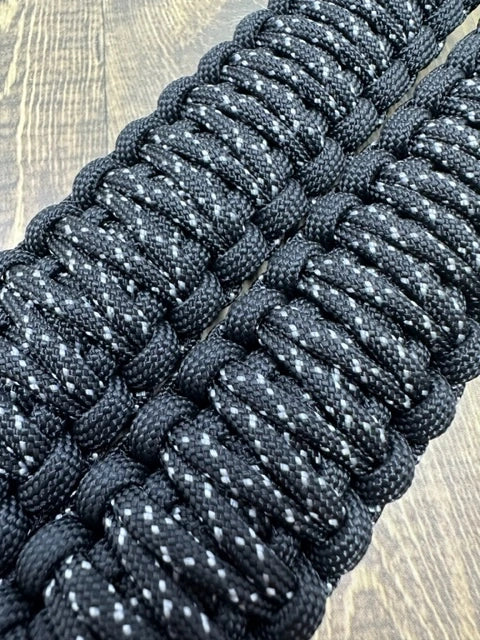
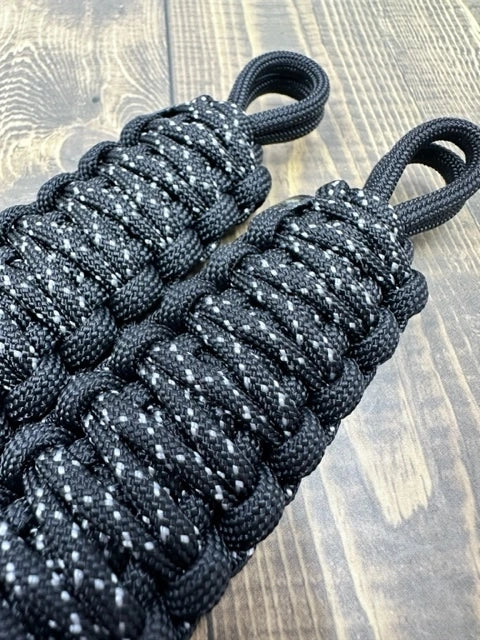
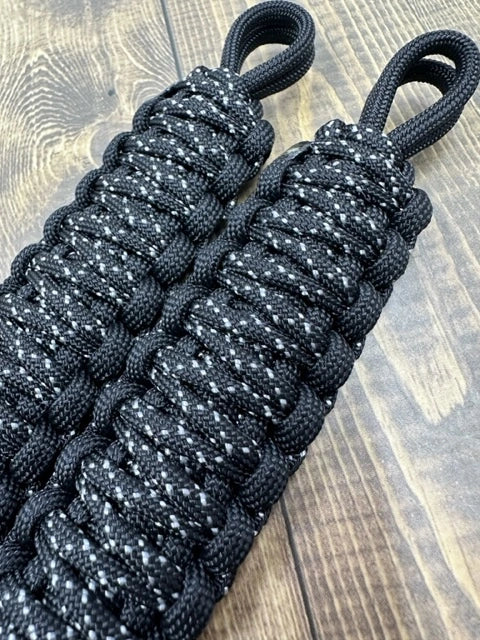
Line up your new Krawlergrips Paracord Grab Handles with the mounting holes. Trust me, they’ll look amazing sitting there!
4. Secure the Handles
- Using Factory Screws: Pair them with larger washers for a tight and secure fit.
- Using Krawlergrips Hardware: If you’ve got the Allen key screws and washers from us, use a 4mm Allen key to tighten everything down snugly.
Pro Installation Tip
Before you wrap up, double check that everything is nice and secure. A properly installed grab handle isn’t just about adding flair—it’s about ensuring a strong and reliable hold when you’re hitting the tough stuff on the tracks.
With these simple steps, you’ll have your rig upgraded in no time. Krawlergrips 4wd handles aren’t just built tough they’re designed to perform. Now, get out there and tackle your next adventure with gear that’s as ready as you are!
See you out on the tracks!
Link to TikTok video


